User instructions QuiPtaping
Work for the best result of your painting job
A painting job is very labor intensive. Did you know that only an average 8% of the cost is material based.
Everybody recognises the time and effort that is spent on preparation. Also the appliance of tape is such a time consuming job and requires some skills and practice to mask properly. Finally, when you remove the tape … the result is not what you had in mind: straight painting lines.
Instruction video
When you use QuiPtaping for the first time, it is helpful to use this step-by-step plan. Watch the video following the eight steps.

Step 1: Put the tape on the spool
Open the lid and put the tape on the spool. Lead the tape through and over the SAFETY LOCK. Close the lid again.
Step 2: Press the safety lock
Press the tape against the SAFETY LOCK and keep the front completely free.

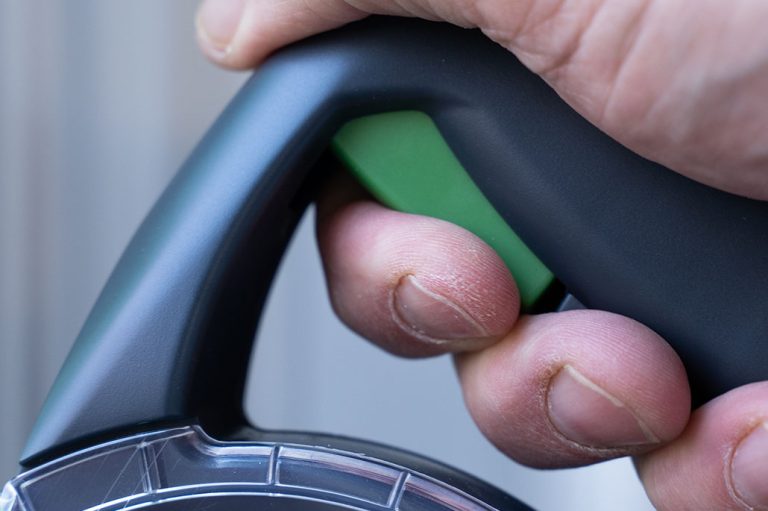
Stap 3: Pull the trigger: tape will be cut straight
Now push the trigger. The tape is cut straight. The dispenser is now ready for use.

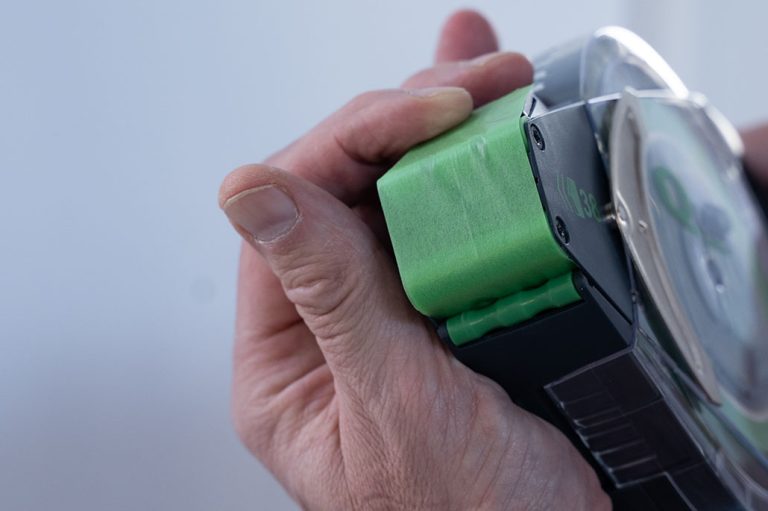
Step 4: Start precise in corner
Press the indicator and bottom of the dispenser first against the corner and surface, then press the tape. At the beginning only press the roller so that the tape fixates at the surface. in order to prevent slipping of the tape. Do not put much force during appliance .
Step 5: Tilt dispenser during appliance
Move the dispenser down and maintains contact along which the tape becomes applied. Turn the dispenser during unrolling.
Do NOT press the trigger during appliance!

Step 6: Indicator in corner
Turn the bold top of the dispenser completely against the surface until the indicator reaches the corner. By this the SAFETY LOCK should be completely pressed.
Step 7: Safety lock pressed in
The SAFETY LOCK is now pressed, which activates the TRIGGER.
Step 8: Press trigger: tape cut straight
Press the trigger: the tape is cut exactly to the corner. The tape is to length for the next surface to be taped.
NOTE: when you wish to keep 2-3 mm from the window frame place the INDICATOR at the side of the window frame. Same procedure from step 4 to step 8 applies.
Handmasker operating instructions
2. Straight from the start the tape needs to be pressed by the wheels.
3. To start press the bottom part of the body to the surface and move towards the corner.
4. Place the dispenser straight against the frame or corner and move in an even pace.
5. Do not need to put too much pressure during appliance, otherwise the tape will “slip”.
After appliance always check if the tape sticks at the edges.
6. While applying the tape tilt the dispenser. Coming in the next corner the dispenser must be tilted completely.
7. When the SAFETYLOCK is pressed, the trigger will be activated. Pull the trigger and the tape is cut straight and accurate.
QuiP tape dispenser: questions and answers
The painting tape of QuiP meets the highest requirements for perfectly tight paintwork. QuiP tape has been specially developed for use on different surfaces. QuiP tape provides very tight paint lines and can be removed after a longer period of time without glue residue.
Very nice if you have spent many hours masking and preparing. Good tape pays for itself quickly
Quip tape and dispenser
Yes it certainly is. For masking large surfaces with foil or other materials you first apply the double sided tape and then you apply the foil. Flexible masking tape can be applied easily with the tape dispneser.
Depending on what Quip tape dispenser you are using also smaller bandwidth of tapes cab be applies and when required you can determine the distance from appliance yourself. Importnat are tapewidth, surface, adhesion strength and durability. QuiP taping has put these in a quadrant. so that you can select the best suitable tape.
QuiP® has tape dispensers for the appliance of tape up to 38mm, available in one, 11/2 inch and 38mm. In general de length of a tape is up to 50 – 60 meters (55 -65 yards)
In principle every tape can be used. However the quality of the tape finally determines the result of your painting job. QuiPtaping has masking tapes of superior quality that gives you that result. Different tapes for different surfaces. No leaking, sharp and clean edges.
Operation and use
The knife can not be replaced. The knife of the QuiP tape dispenser is produced of the right hardness that in case the knife hits the surface it will not be damaged and the knife will keep its function. But in case of incorrect usage the knife will finally damaged too much and loses its function.We therefor advise you to read the instructions carefully.
At the start it is import without rolling off the tape you press the tape against the surface. Do not us too much tension when applying the tape further as this makes it a hard job and prevents you to apply the tape in the right way.
Tape “bleeds”; at theside and atrracts dist and dirt. After applying tape and start to paint you see that grease sits in the way. After removing the tape you see the particles coming back in your paint job.The cover of the tape dispenser prevents this.